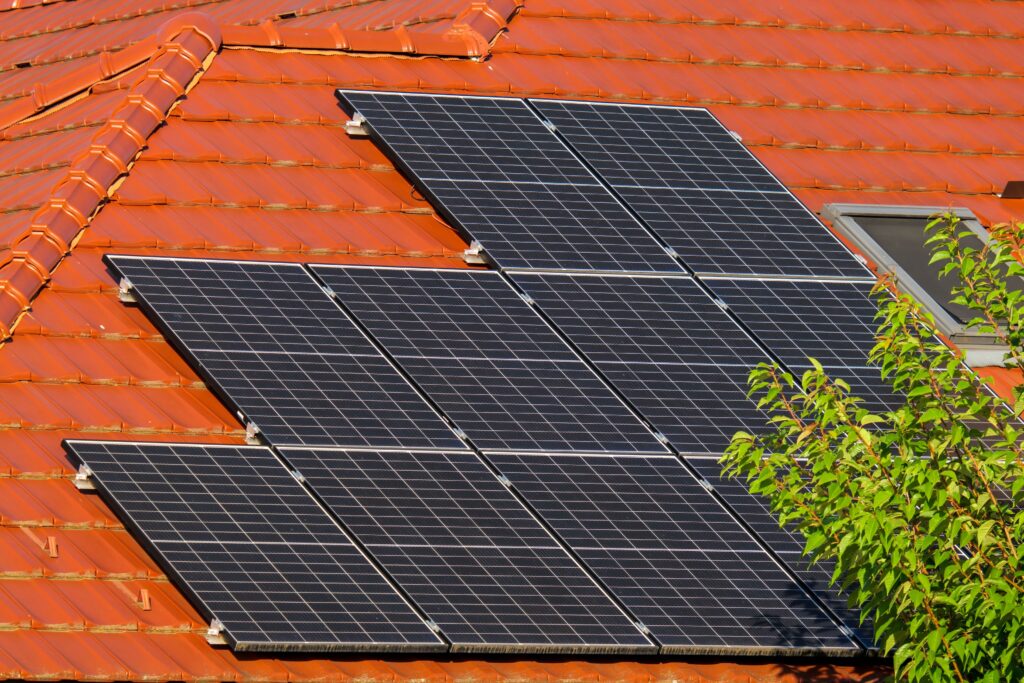
I bought a whole solar setup for under $300. Panel, controller, the works, meant to do nothing but keep the upright freezer in my garage running if the power ever went out. That’s it. That was the whole ambition. And I still sat on that decision for months before I clicked buy, turning it over like it was a down payment on a house instead of a system that cost less than a really nice dinner out. It’s still not hooked up. Sitting right there, ready, and I haven’t finished the last step.
That hesitation is the whole post right there. We don’t resist self-sufficiency because it’s hard. We resist it because we’ve been sold the idea that it has to happen all at once, fully formed, or not at all. Solar means a whole-home system or nothing. Food storage means a root cellar and a homestead or nothing. Water prep means you’ve officially become the person your family teases at Thanksgiving. So we do nothing, because nothing feels safer than doing the wrong-sized something.
That’s not caution. That’s a trap dressed up as practicality, and it keeps us dependent on systems that have already shown us, more than once now, that they will fail us when it matters most. A grid that goes down. A grocery supply chain that gets shaky over a headline. A water system under a boil advisory with no warning. We watched all of it happen to somebody’s neighborhood in the last few years and told ourselves it wouldn’t be ours, right up until it was.
Baby steps exist for a reason. Nobody builds Rome, or a homestead, or a functioning off-grid ecosystem, in a weekend. You build it $25 at a time, one system at a time, until one day you look up and you’re not scared of a power outage or healthy fruits and veggies anymore. Here’s where to actually start, broken down by system, cheapest and easiest first.
Water storage
This is the one people skip because it feels the least urgent, right up until it’s the most urgent thing in the house. A WaterBOB, a bathtub bladder that holds 100 gallons, costs about $35 and stores flat in a drawer until you need it. If you start hearing weird stuff is about to happen with the water system, grab this out of the basement or garage and put it in your tub. Fill it up and you have water for a good while. What if you can’t trust it? Add purification tablets, or start keeping a 55 gallon barrel outside, can be water from a hose or rainwater, maybe a gravity filter, another $30 to $80, and you’ve covered both storage and the ability to treat water from another source if you ever need to. The rule of thumb is one gallon per person per day, minimum. Start with the WaterBOB. It’s the cheapest peace of mind you’ll ever buy.
Food preservation
There is a lot of fear wrapped around this one, and I get it, nobody wants to poison their own family. Take a deep breath. Food safety here is not a mystery, it is a set of protocols, cleanliness rules, and tested recipes that people have been using for a hundred years. Your library has books on this you can download straight to your Kindle for free. Follow the directions as written. That is the whole trick. Not hard, just detail-oriented.
Entry level is water bath canning, dehydrating, fermenting, and freezing. A water bath canning pot runs $20 to $30 and handles jams, tomato sauce, peaches, pickles, and other high-acid foods safely. I do a good bit of this myself, especially in late summer through fall, when most of my canning happens. A basic food dehydrator is $30 to $50, your air fryer may have the setting if you have a good one. Dehydrating turns garden herbs or a $2 bag of produce, think sliced lemons, beets, apples, or mushrooms, into shelf-stable food that lasts for years. Don’t throw out that $3 sweet pepper, dry it! Easy to rehydrate for a quick stir fry. Fermenting is the cheapest of the bunch, mason jars, salt, water, and time is basically the whole supply list. A ginger bug, which is just grated ginger, sugar, and water fed daily for about a week, turns into the base for homemade ginger ale or root beer, no special equipment needed. Forget that soda maker thingy they sell for a fortune, you can make your own soda with a jar and a couple ingredients. Shredded cabbage in a salt brine becomes a fermented slaw or sauerkraut in a matter of days. Beyond the flavor, you’re growing real probiotics, the same kind you’d pay good money for in a bottle at the health food store, forget that nasty kombucha, wouldn’t you prefer some good chow-chow as a side for your collards, or pickled giardiniera, an Italian favorite, with carrots, cauliflower, celery, bell and hot peppers, and onions? Now we’re talkin’!
Freezing is easy, and it belongs on this list too. Freezer-safe bags and a Sharpie get you in the game, no fancy equipment required, though you can spend more on the good bags or color-coded containers if that’s your thing. Some items do better wrapped in wax paper, then foil, before they go in the bag, ask Gladys Knight’s interwebs which is best for what preparation. Never freeze meat in the family pack straight from the store. That plastic is not built for it, and you’ll end up with freezer burn and a sad, gray piece of chicken six months from now. Take it out of the package, wash it well with vinegar and citrus, then repackage into your own bags or containers, labeled and dated. Yes, wash your meat. Every time. Don’t be nassie. As to how to place it in the freezer, think FIFO, first in, first out, and rotate your stock so nothing sits in the back going bad while you keep buying more.
Pressure canning is the one outlier here that actually requires more skill and more care, it’s what you need for meat and low-acid vegetables, and I’m leaving it off this starter list on purpose. Get comfortable with the other four first. Come back for pressure canning once the other methods feel like second nature.
Power
Step 1: Solar, starting small
Forget whole-home. Nobody needs to run their house off solar to be prepared. What you actually need in an emergency, whether it’s a weekend or two weeks, is a fridge, a freezer, internet, some lights, and a place to charge your phone. That’s it. That covers food safety, communication, and sanity. A system built for exactly that load, in the 1.2 to 2.5k watt range with a real lithium battery, averages around $3k and will carry your basics for days on end. Add panels, around $150 each, and battery capacity as you have money to upgrade. That’s the ceiling you’re aiming for, not a starting point. My own setup, built to run one upright freezer, cost under $300.
Step 2: The generator
This is where you save up, and that’s fine. Step 1 gets you through the quiet stuff, fridge, freezer, internet, lights, charging. Step 2 is for the washing machine, power tools, anything with a real motor in it. Buy the largest generator you can reasonably afford, and get a dual-fuel or propane model if you can. Propane burns cleaner, stores longer without degrading, and won’t gum up your carburetor the way gas can if it sits unused for months. A solid unit in the 7 to 8.5k watt range runs around $1,000, and that size will carry real household essentials, not just survive on them.
Don’t just set it in the yard and call it done. Pour a small cement pad and build a simple generator house out of pressure treated wood and corrugated metal, a weekend DIY project if you’re handy, or something you hire out on Thumbtack for a few hundred dollars if you’re not. That protects the unit and keeps the noise and exhaust where they belong, away from the house. If you’re running gas as a backup fuel, stockpile it in several approved containers, stored away from the house and shielded from direct sun and heat. Gasoline degrades and becomes a hazard fast when it’s baking in a hot garage corner all summer.
The maintenance box nobody thinks about
Keep a dedicated box in the garage or basement with spare parts for both systems. If the power’s out for an extended stretch, the stores are the first thing to run dry, and generator parts are not what people think to stock up on before a storm. A spare carburetor, extra spark plugs, an air filter, an oil filter, and a couple of inline fuses for the solar setup will run you under $100 total, and it’s the difference between a two-day outage and a two-week one if something small breaks at the wrong time.
None of this requires a homestead, acreage, or a personality transplant into someone who preps for a living with a bomb shelter in the yard. Even apartment dwellers can do this, they have panels you can hang out your window, and you can buy a little trolley for your canned, fermented, and dried goods. The less expensive options start at less than $25, and power options start under $300, you just need the willingness to stop waiting for the version of this that feels impressive enough to start. I’ve been doing food preservation all my life, and my power journey started with a freezer that still isn’t plugged in yet. Build on what you know and can afford. Your voyage can start wherever you are, unfinished business and all.
What’s the first step you’re actually going to take this week? Tell me in the comments, I want to see the receipts.